Creating a property inventory used to mean hours of work. You'd walk through the property with a clipboard or a phone full of notes, take photos in the camera roll, go back to your desk, open a Word template, transcribe everything, drag in the photos, resize them, format the document, export as PDF, and finally send it — hoping you hadn't forgotten anything in the process.
With the right tool, the same result takes about two minutes. Here's exactly how to do it, step by step.
Before you start: what you need
The good news is that the requirements are minimal:
- A smartphone — any modern iPhone or Android. Fincta runs in the browser, so no download is needed.
- Physical access to the property — you'll be walking room by room, so ideally you're at the property while filling in the inventory.
- A Fincta account — free to create at fincta.app. Takes about 30 seconds.
You don't need a printer, a Word template, a laptop, or any additional software. Everything happens on your phone.
Step-by-step: creating your property inventory
Log in to your Fincta account and navigate to the property you want to document. Fincta organises everything by property, so all photos, notes, and documents stay attached to the right listing.
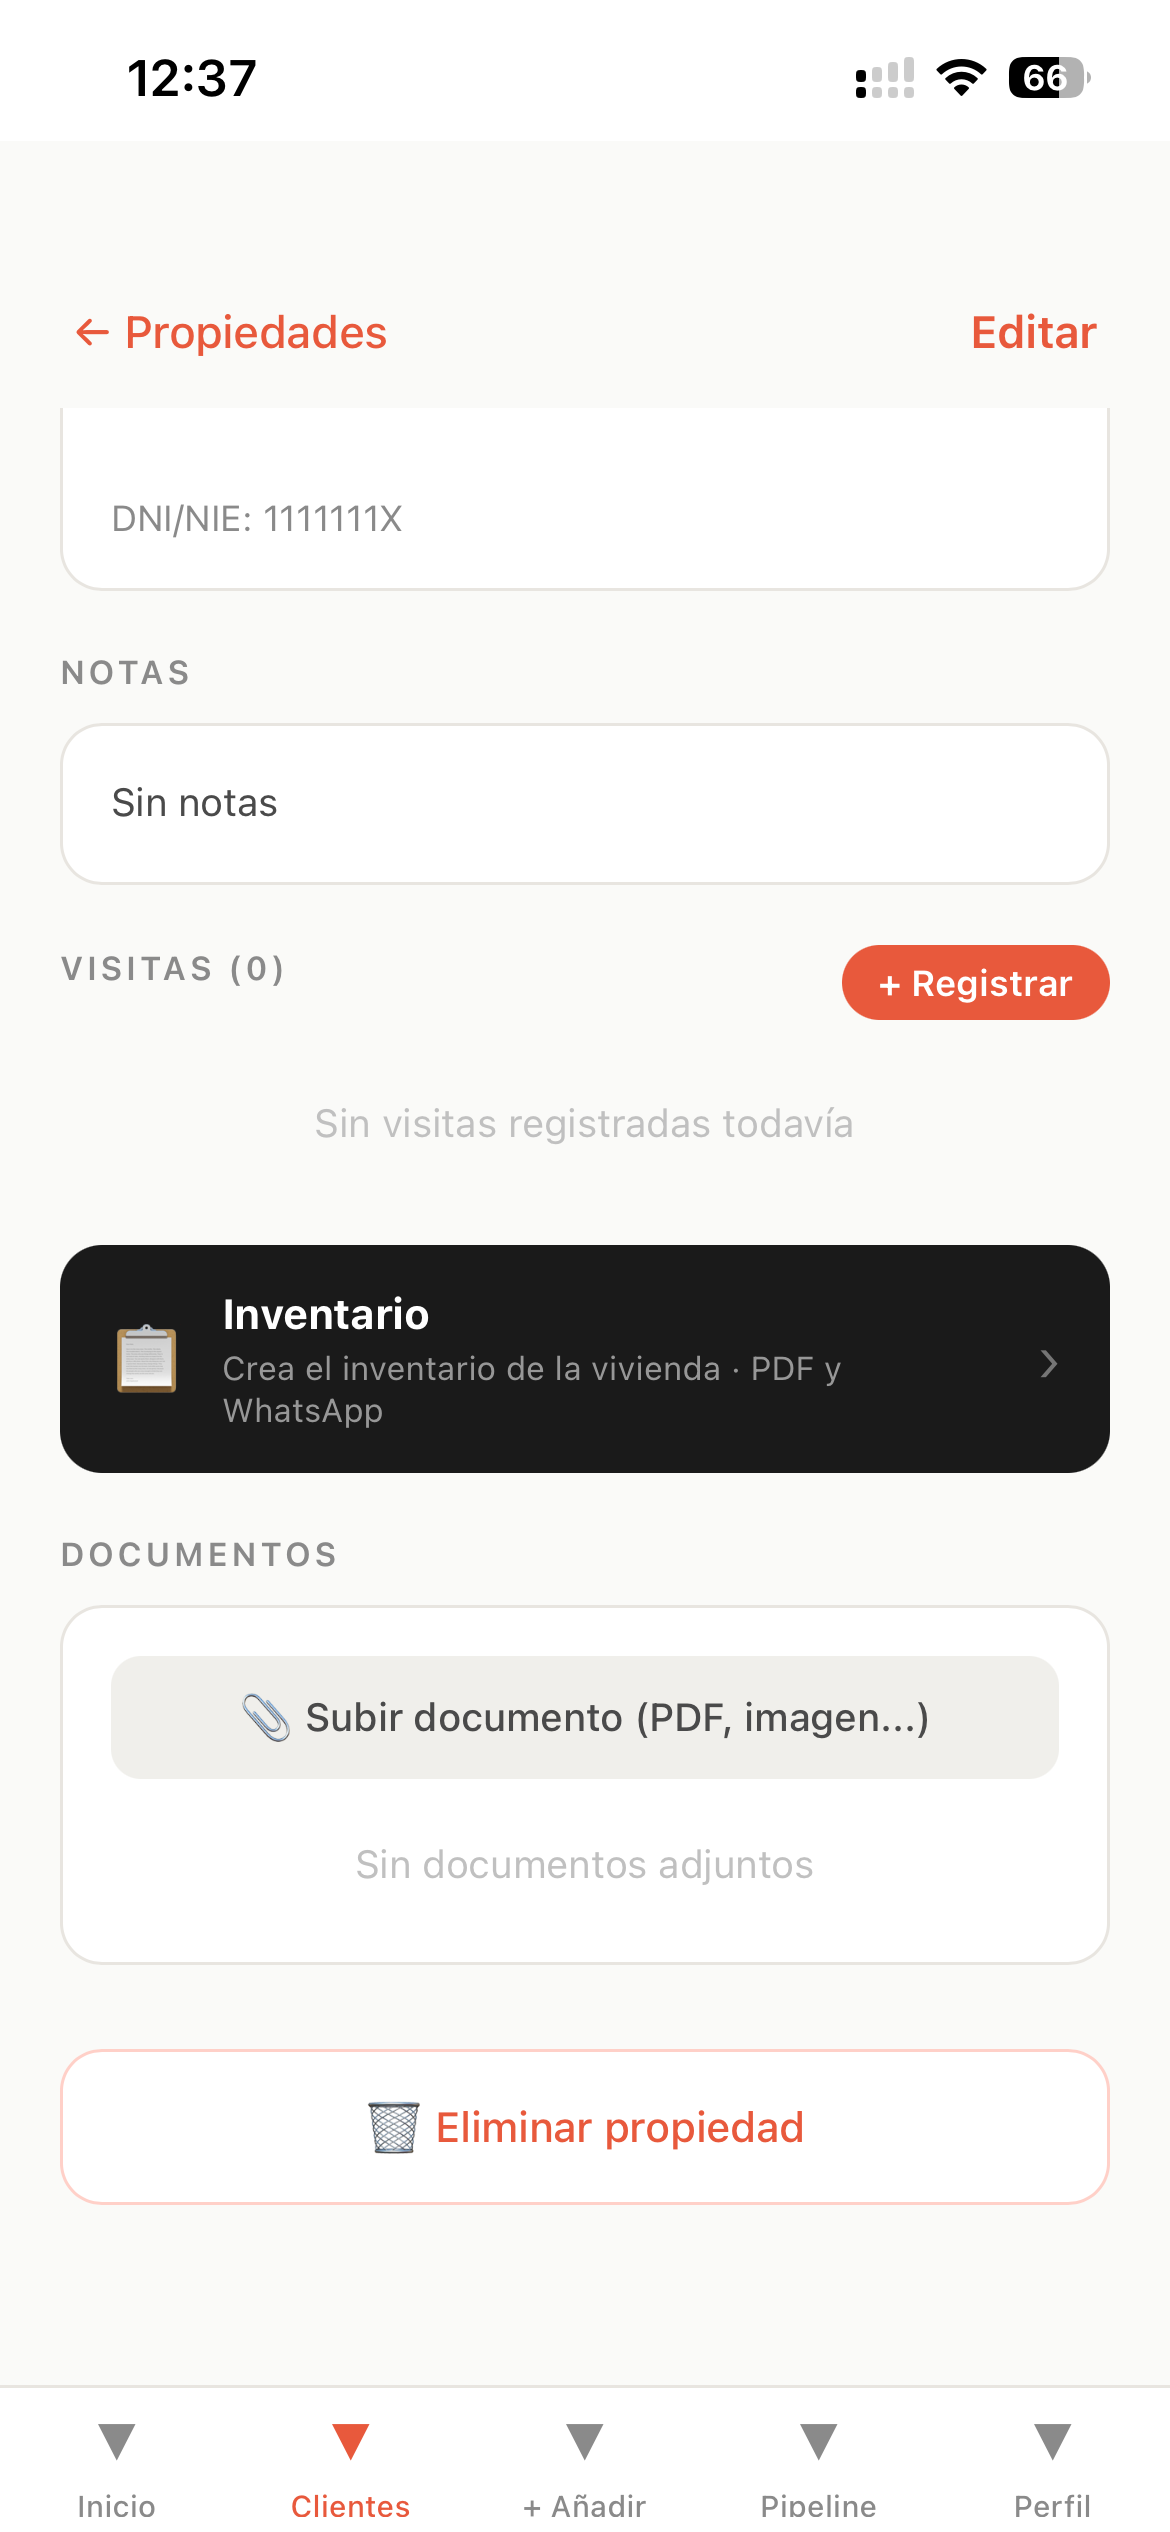
On the property detail screen, you'll see a 📋 Inventario button. Tap it to open the inventory module. This is where all your rooms and items will live. The first time you open it, you'll see an empty state — no sections yet, ready for you to build from scratch.
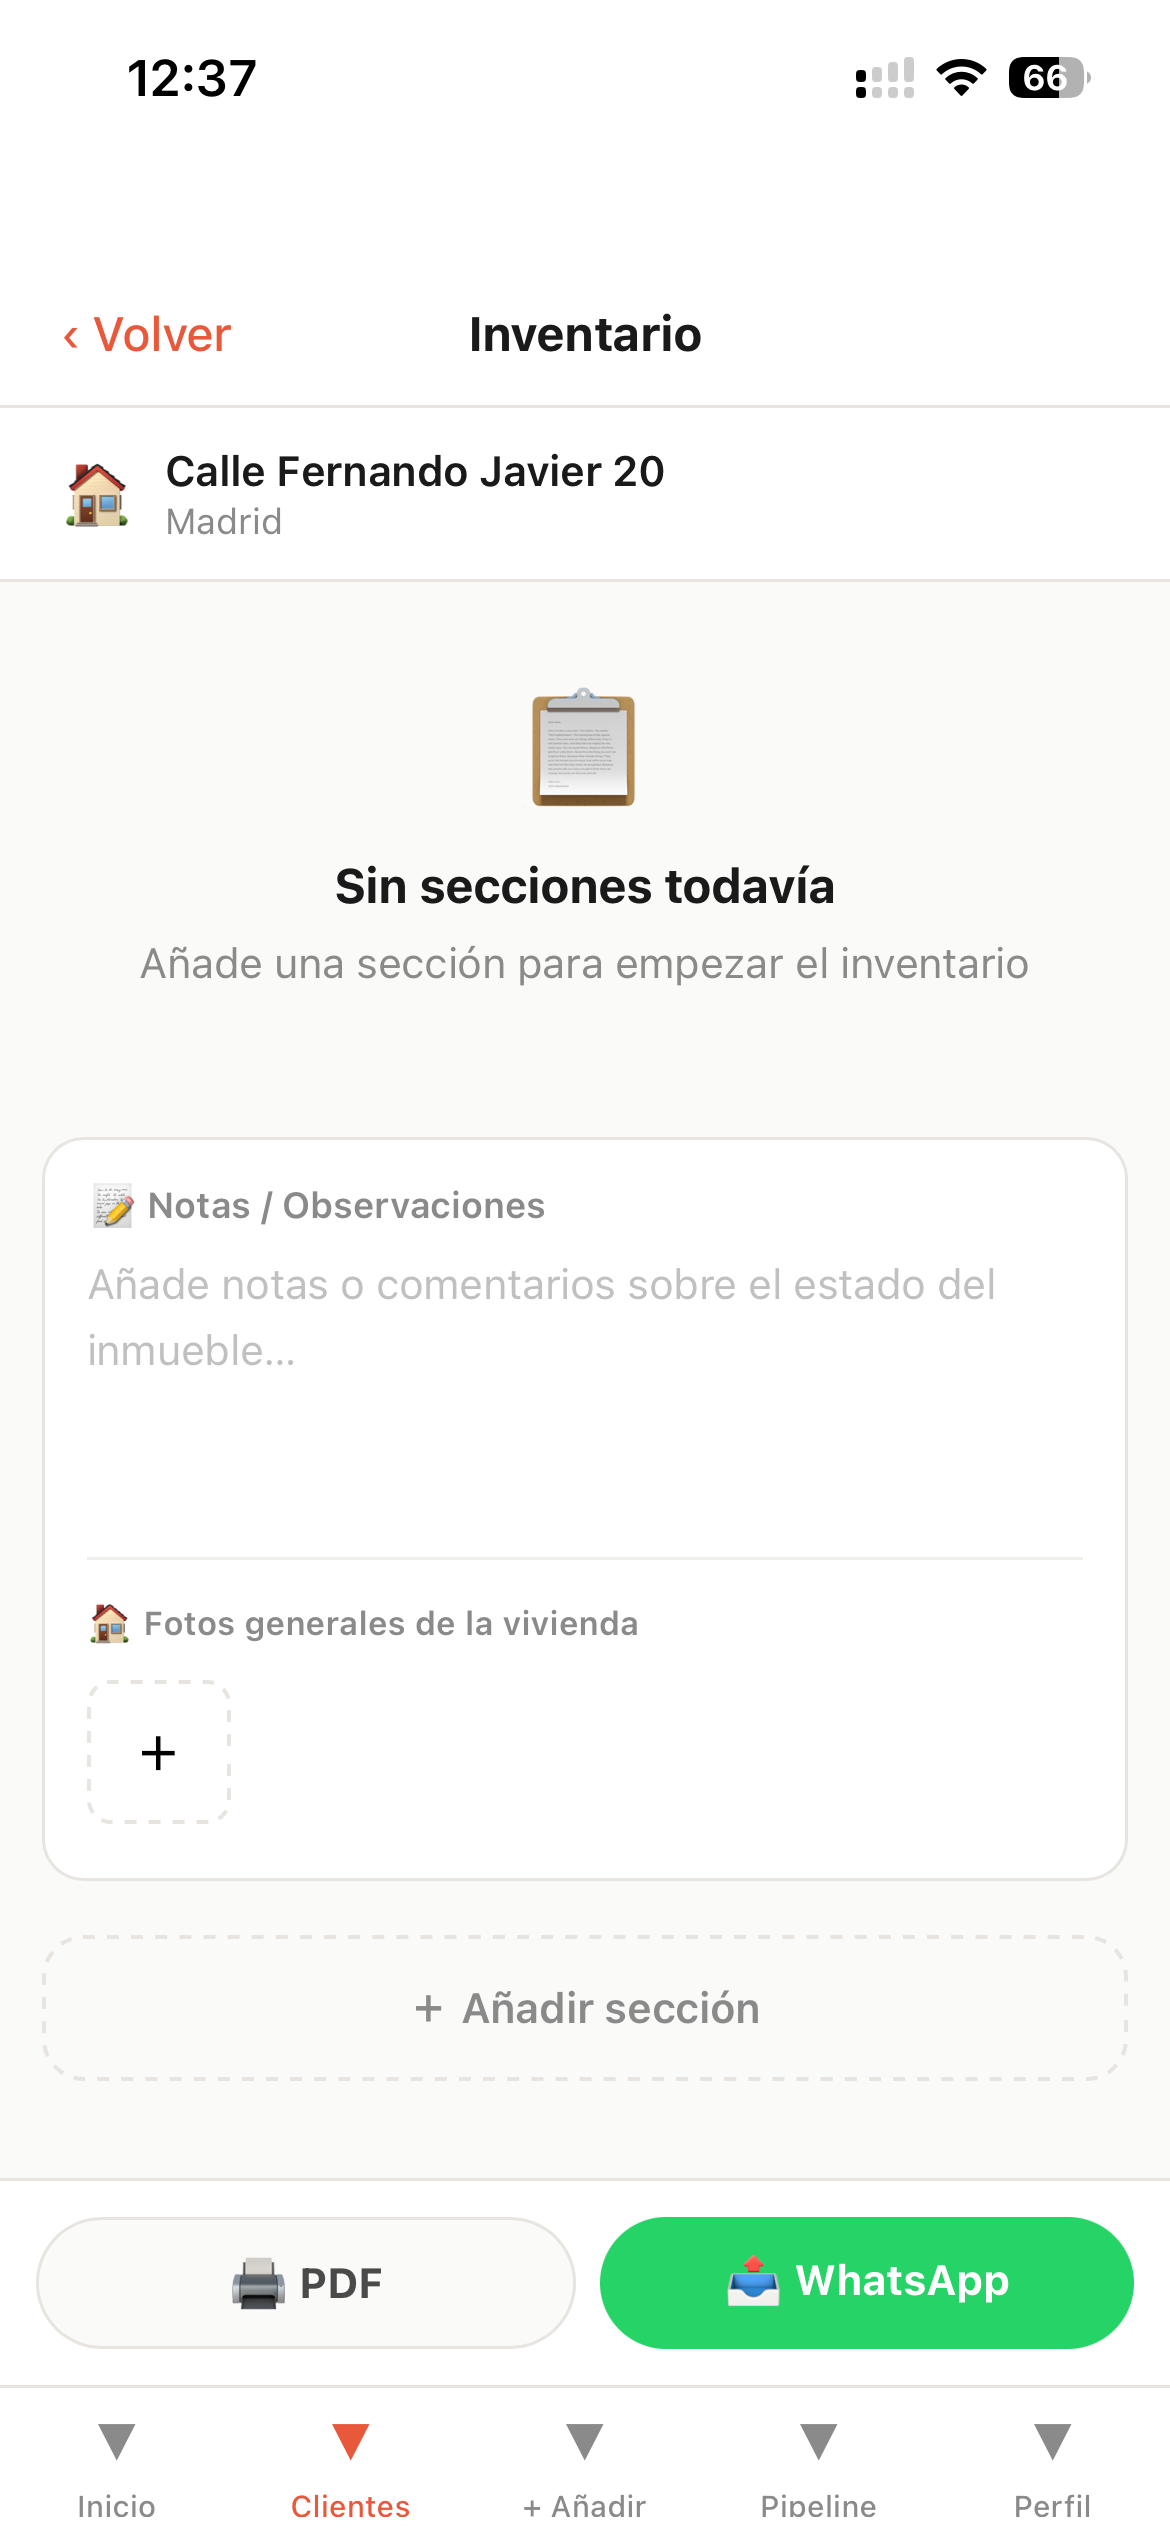
Start by creating a section for the first room you're standing in. Sections correspond to rooms — Living room, Kitchen, Bedroom 1, Bedroom 2, Bathroom, Terrace, Storage. You can add as many as the property has. When you first open the inventory module, it's empty:
Within each room section, tap to add items. Type the name of each piece of furniture or appliance. Be specific: instead of "chair," write "dining chair x4" or "office chair, black, adjustable height." Specificity is what prevents disputes later. For appliances, note the type — refrigerator, dishwasher, washing machine — and the condition if anything is worth noting.
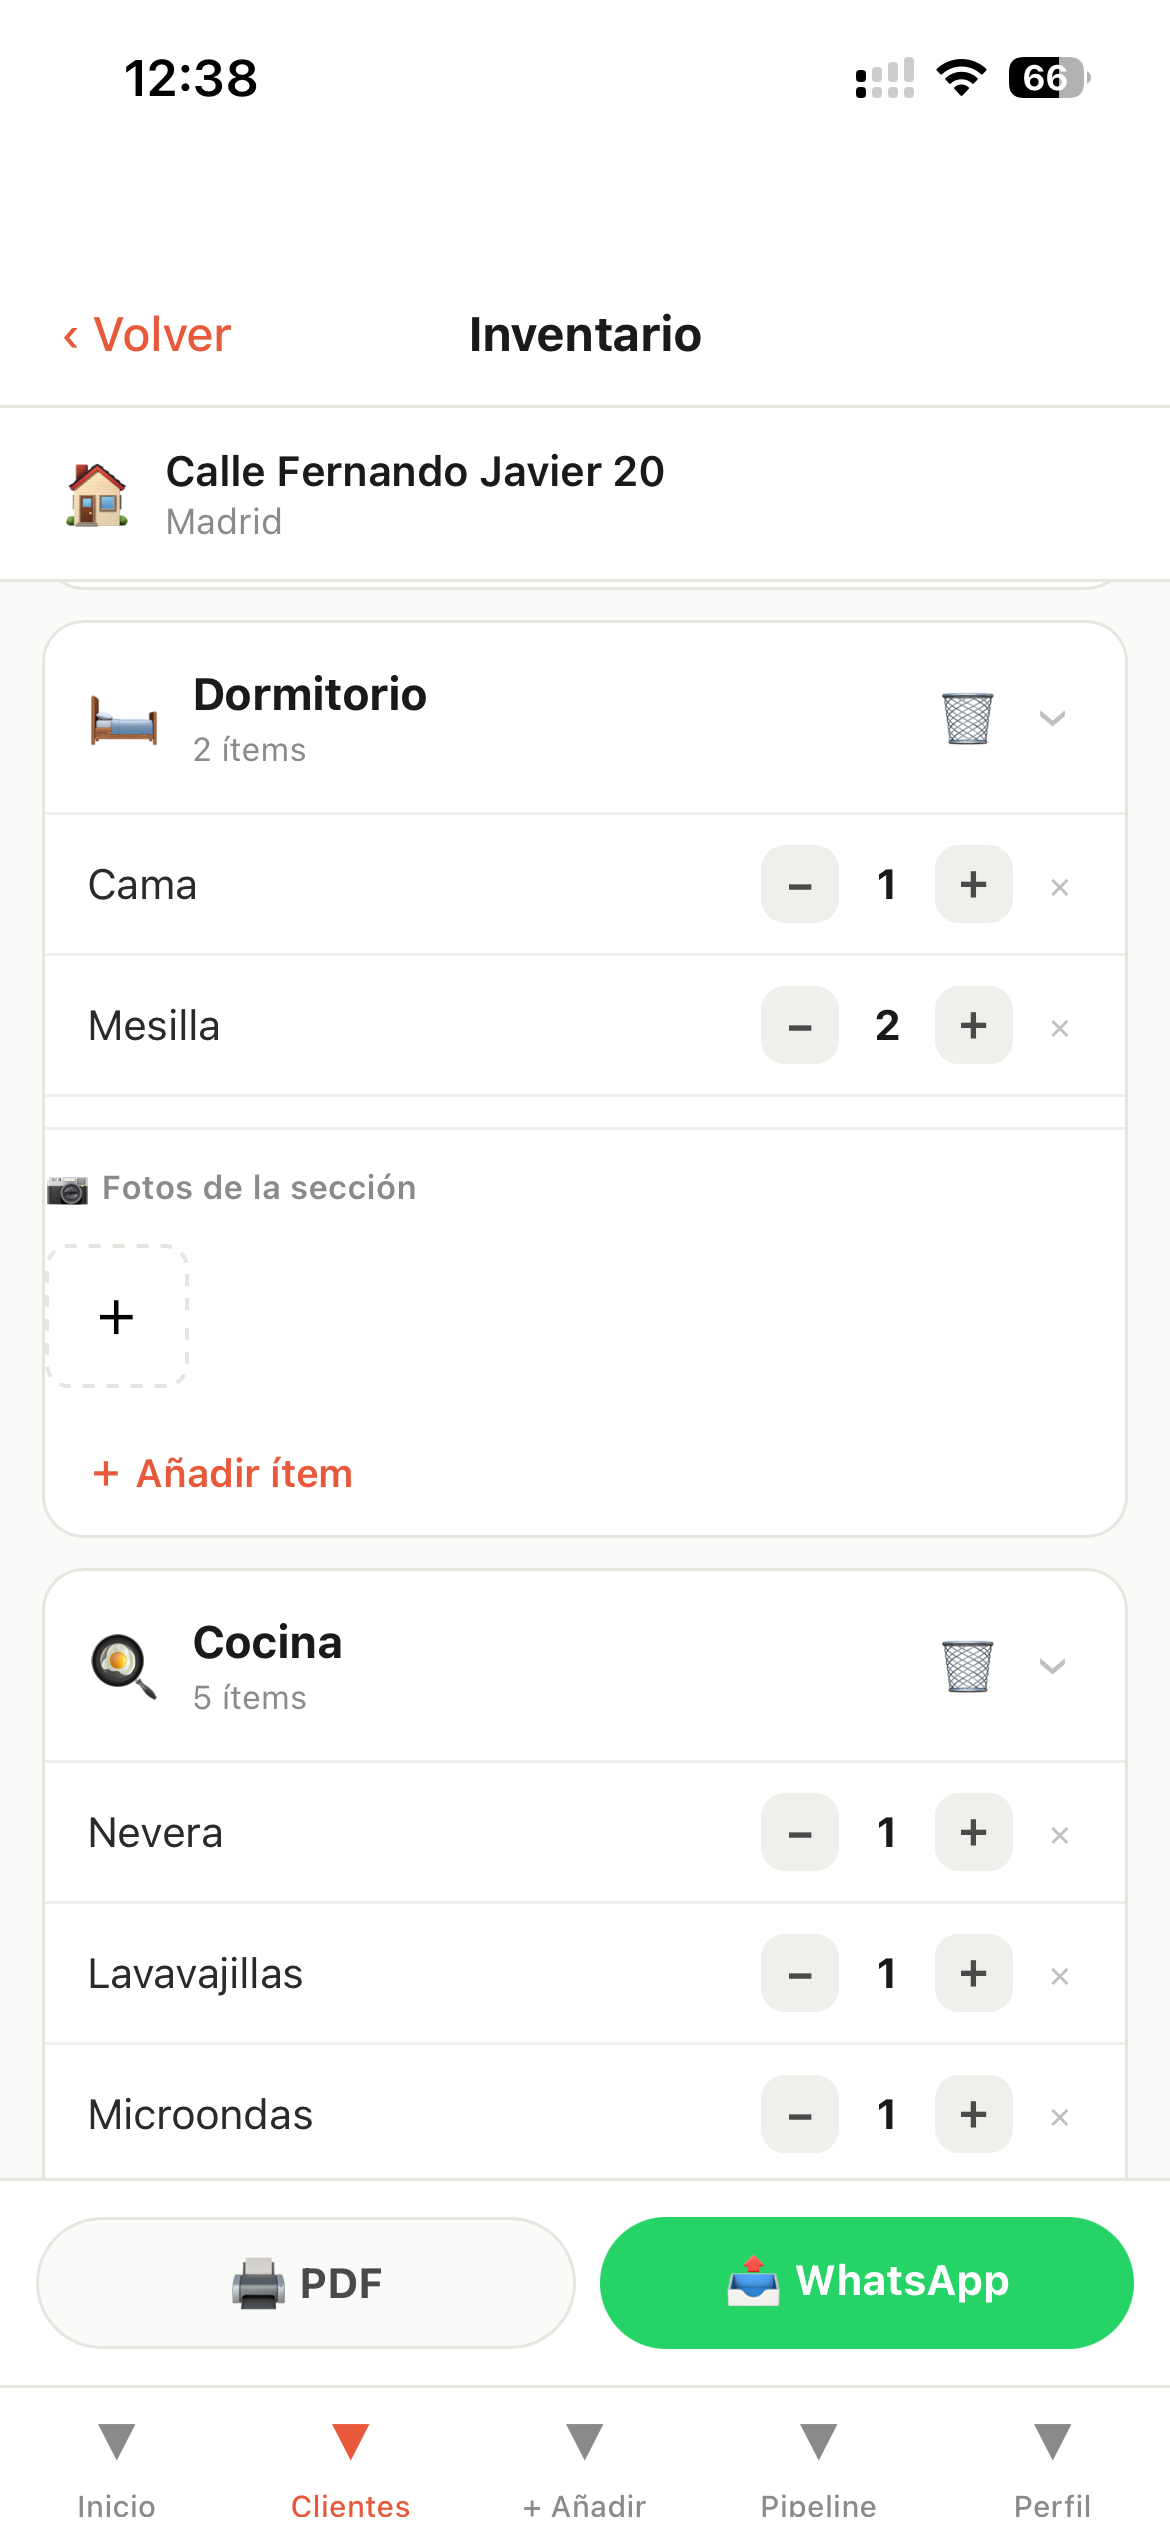
Attach at least one photo per room directly from the inventory screen. The photos are taken in the moment — timestamped by your device — and embedded in the final PDF. For rooms with valuable contents or existing wear, take multiple shots from different angles. If a piece of furniture already has a scratch or mark, photograph it specifically so there's no ambiguity later about when the damage occurred.
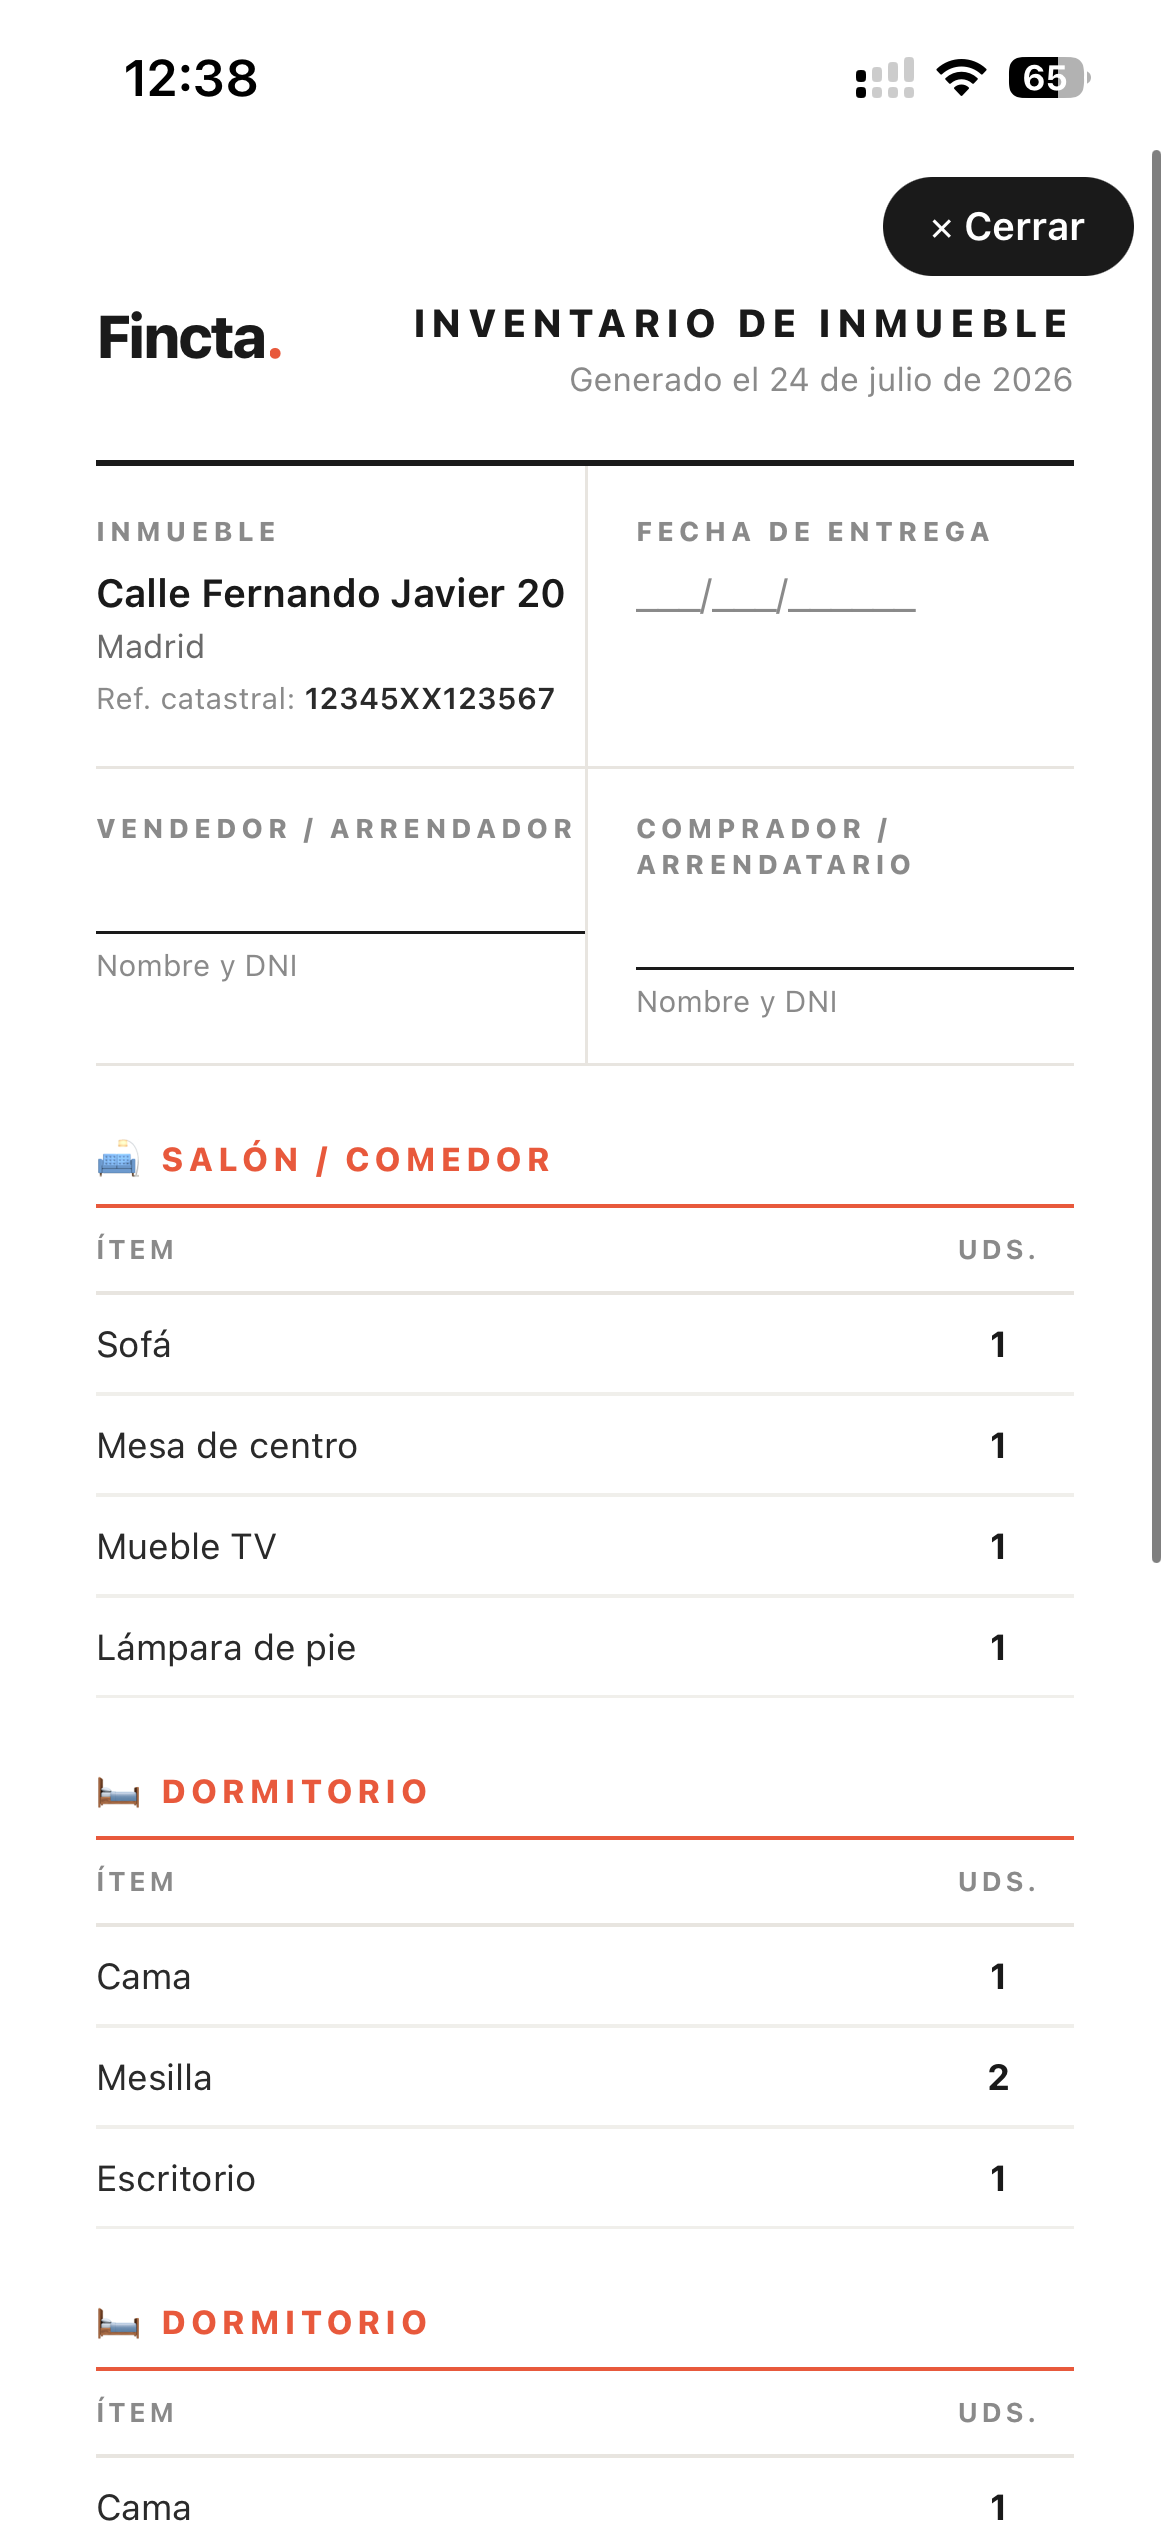
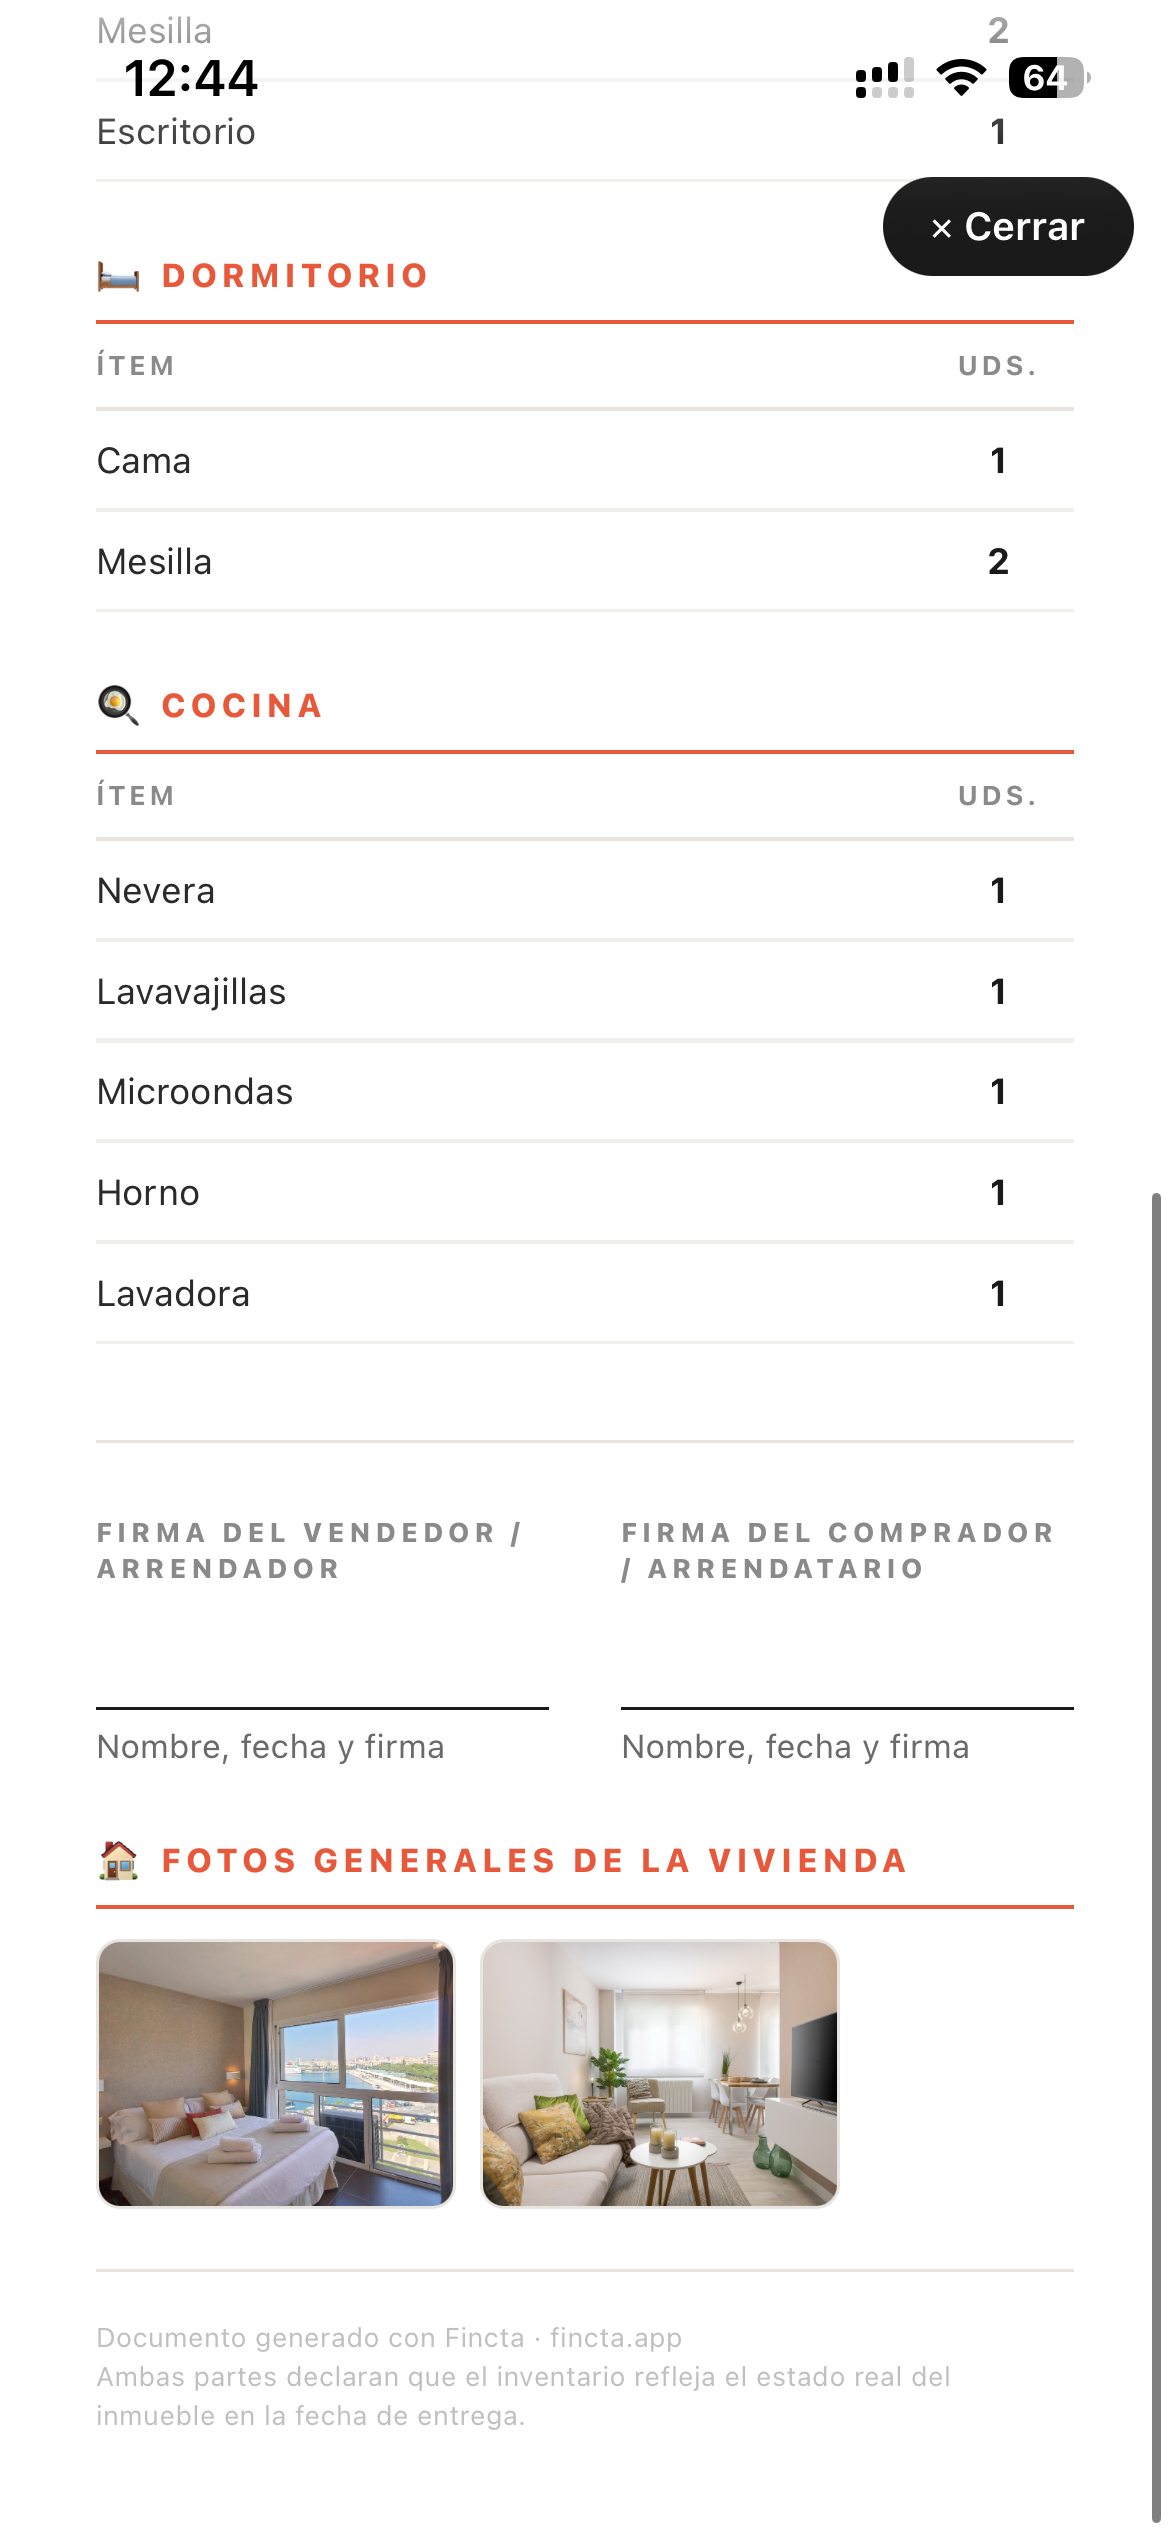
When you've completed all rooms, tap Export. Fincta generates a clean, professional PDF containing the property details, every room section, every listed item, the attached photos, and signature fields at the bottom for both parties. Share it immediately — via WhatsApp is fastest — and ask both parties to sign before leaving the property.
Tips for a thorough property inventory
Following the six steps above will get you a solid inventory. These extra habits will make it an excellent one:
Go room by room, in order
Don't jump around. Start at the front door and work through the property in a logical sequence. This reduces the chance of forgetting a room or an item, and it makes the final document easier to follow when a buyer or tenant reads it later.
Be specific with quantities
"Dining chairs" is not enough. "6 dining chairs, wood, natural finish" is what you want. Quantities are the most common source of post-handover disputes — "I counted five chairs at handover, the inventory says six" is a conversation you want to avoid. Count everything, write the number explicitly.
Include serial numbers for major appliances
For appliances above a certain value — refrigerators, washing machines, dishwashers, ovens, air conditioning units — note the serial number or model number if it's accessible. This makes it impossible to substitute a cheaper or older unit between inventory and handover, and it simplifies any warranty claims down the line.
Take photos from multiple angles
One wide-angle photo per room plus one close-up of any items with existing wear or damage. For the living room, for example: one photo of the full room showing everything in position, and individual photos of any sofas or furniture with marks. The more angles, the less ambiguity — and the less room for a later dispute about what the inventory photos "really show."
Pro tip: Do the inventory walkthrough with the seller or outgoing tenant present. Having them confirm each item verbally as you add it, and watching you take the photos in real time, is the strongest possible protection against any later claims that the inventory doesn't accurately reflect what was there.
FAQs about property inventories
How long does a property inventory take?
With Fincta, a standard furnished property takes about 2 minutes to inventory if you're adding items as you walk through each room. A large or heavily furnished property might take 5–7 minutes. The real saving is in what comes after: with a Word template or paper form, you still need to transcribe notes, insert photos, format the document, and export it — typically 30–45 minutes of extra work per property. With Fincta, the PDF is generated instantly when you tap Export.
Should I create the inventory before or after signing?
The inventory should always be created and signed at the moment of key handover — not before. The purpose of the inventory is to document what is physically present at the time of transfer. Creating it earlier means the contents may change before handover (sellers often remove items in the days before). You can agree in the sale contract what is included, but the formal inventory with signatures should happen at handover, with both parties present to confirm each item.
Can the inventory be contested?
A signed inventory can be legally contested, but it's difficult to do successfully. The contesting party would need to argue duress, misrepresentation, or document forgery — all of which are high bars. Adding dated photos makes it significantly harder to contest, because photos provide objective visual evidence of the property's contents at a specific point in time. An inventory without photos is based solely on what someone wrote down; an inventory with photos is anchored to reality.